Hobby Hunting: Hand Embroidery
Happy Thursday! I am a little late to my promised timeline (only by a week!)… but today is all about hand embroidery! This is my newest hobby and quickly becoming one of my favorites. Hand embroidery helps with my anxiety and I find that it can be very forgiving. There is no need to count your stitches or stick to the straight line. A little stray stitch is all part of the charm!
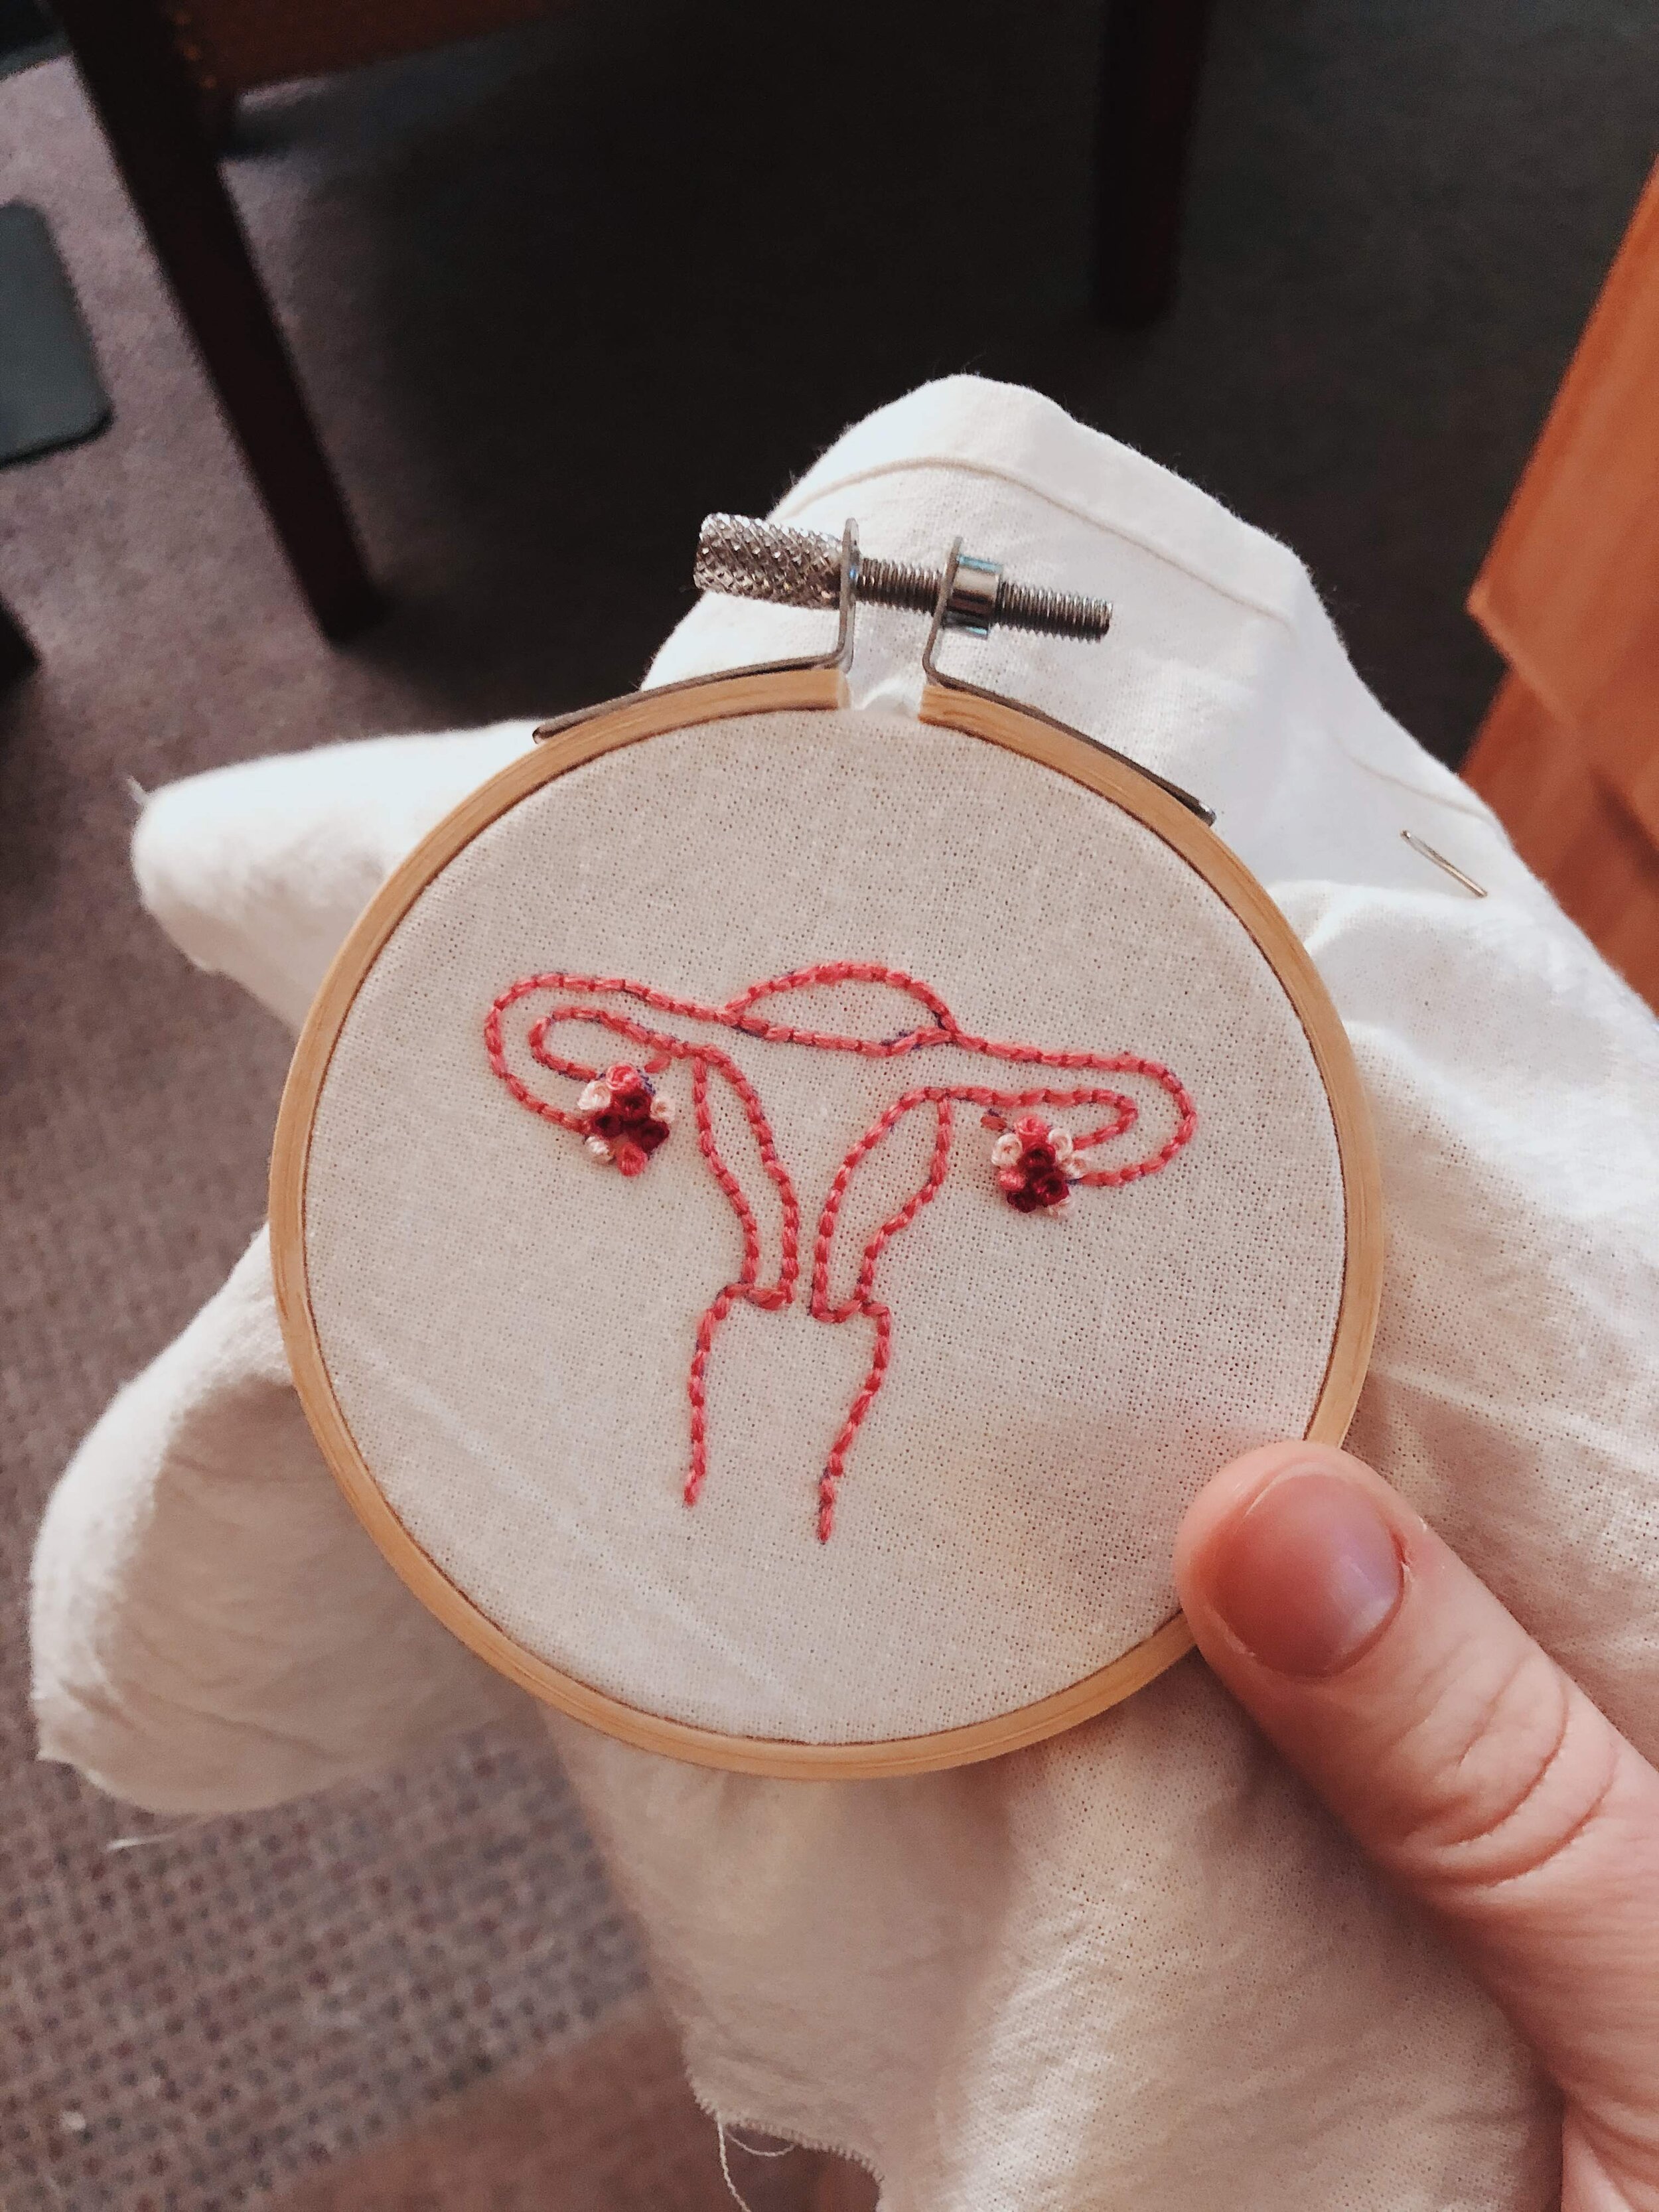
I started this hobby just like most others. A stray hour on Pinterest and an Etsy kit bought on a whim. When the kit arrived, I had almost forgotten about the order and just hid it away in our office for a “rainy day”. Three months later during a cleaning frenzy, and I finally cracked into it. After my first few stitches, I was HOOKED. I finished my hoop in less than 24 hours and immediately began searching for all the patterns and all the goodies to make more. Below is my first attempt using a kit from Mary Leaf Makes.
If you are brand new to hand embroidery, a kit is truly the way to go. All of the supplies are provided for you and then you have your needle ready to go for future projects. Below are some supplies needed to get started (if you do not want to purchase a full kit):
Scissors
Needle (specifically an embroidery needle, size 7 or 9. More on that below)
Embroidery Floss (DMC is the best!)
Embroidery Hoop
Fabric
Heat Erasable Pen (this is my favorite)
Pattern (either digitally or on paper)
A few notes on the supplies. A regular sewing needle is not the right tool for this. You want an embroidery needle as they are designed to be longer, very sharp, and with larger eyes to make threading easier. This will make or break your experience! A strong needle that easily moves through fabric will keep your stitches clean and your hands cramp-free. For embroidery floss, always get DMC. I have tried off-brand floss from Amazon and it frays so quickly. Most patterns use DMC numbers as well and this allows you to know exactly what colors are recommended and can easily find them in the store. Hoops are simple to find and I have found that the cheap ones at Michael’s are enough for me! I like a 4-inch hoop to get started, although the size is up to you! For fabric, I actually find that linen dish towels make the best surface for this. Find a cheap towel on Amazon to cut up (or one around your house) and you are all set. You want a tighter weave so that when it is taut on your hoop you don’t see a lot of holes in the fabric. Cross stitch fabric is too loose for this (which is what you see below, and I hate myself for using it!). For patterns, either make your own or find one on Etsy! I am partial to the designs from floralsandfloss and below is a shot of my current progress on one from this shop.

Step-by-Step Guide:
This is my attempt to teach you how to hand embroider! Confused? Hit up google. There are so many experts out there and I do not claim to be one. This guide is based on my own experience and my DIY attitude. Sure, there are probably fancier ways to get started, but we are winging it, ok?
Step One:
Gather your supplies listed above and find your pattern. Once you have your pattern (or decide to hand draw something) then put your fabric square on your hoop by loosening the screw and placing the fabric between the two hoops. Make sure your piece of fabric has about 2-3 inches of extra space around the edge, you will trim it at the end! If you are tracing your pattern, place the pattern up against a light source so you can see it through the fabric and start tracing with your heat-erasable pen. If you make a mistake, just grab a hair dryer and erase! Once your pattern is drawn on, flip that fabric over so you can begin stitching (see below for reference).


Step Two:
Thread your needle! Tie a knot at the other end! Honestly, just search how to do this because it is hard and sucks. Some tips on prepping your floss - there are six strands of floss woven together to make the full strand. You won’t ever really need all six, so I recommend using between two and four strands. For lettering, I prefer two and then outlines and flowers I use four. Smaller hoops mean less strands. On this example (way) below I even used one strand for the yellow flowers because it is so tiny. Do whatever you want!


Step Three:
Start at the back of your hoop to hide your knots and get going! Here is where I find guidance for all of my favorite stitches. The example below uses the back stitch for lettering, stem stitch for the flower stem, lazy daisy for the flower petals, and a french knot in the middle for pizzazz! As you are following your pattern, don't worry if you get off course. You are going to erase the lines at the end, so coloring in the lines is a farce. Another tip for stitching, if you are trying to make a straight line or do lettering, the smaller the stitch, the better. For curves and turning corners, stitch small! It will make your lines look crisper.

Step Four:
So at some point you are going to run out of floss or want to switch colors. This is simple! Begin the process of tying off your floss when you have about 3-4 inches left. You need some wiggle room or the needle is hard to tuck under. Watch this video to see how I like to tie off my floss.
Step Five:
Are you finished yet? Did I just magically teach you everything you need to know? Obviously YES. Once you are done, trim off the excess fabric so you have just enough on the edge to fold around the inner wooden hoop. Take a hot glue gun to the wood and fold the fabric inside to stick. Grab your hair dryer and erase those lines… and TA-DA! You have a lovely little hoop to put on your wall, at your desk when we (maybe) return to office life, or to just post on instagram because #hobbies.


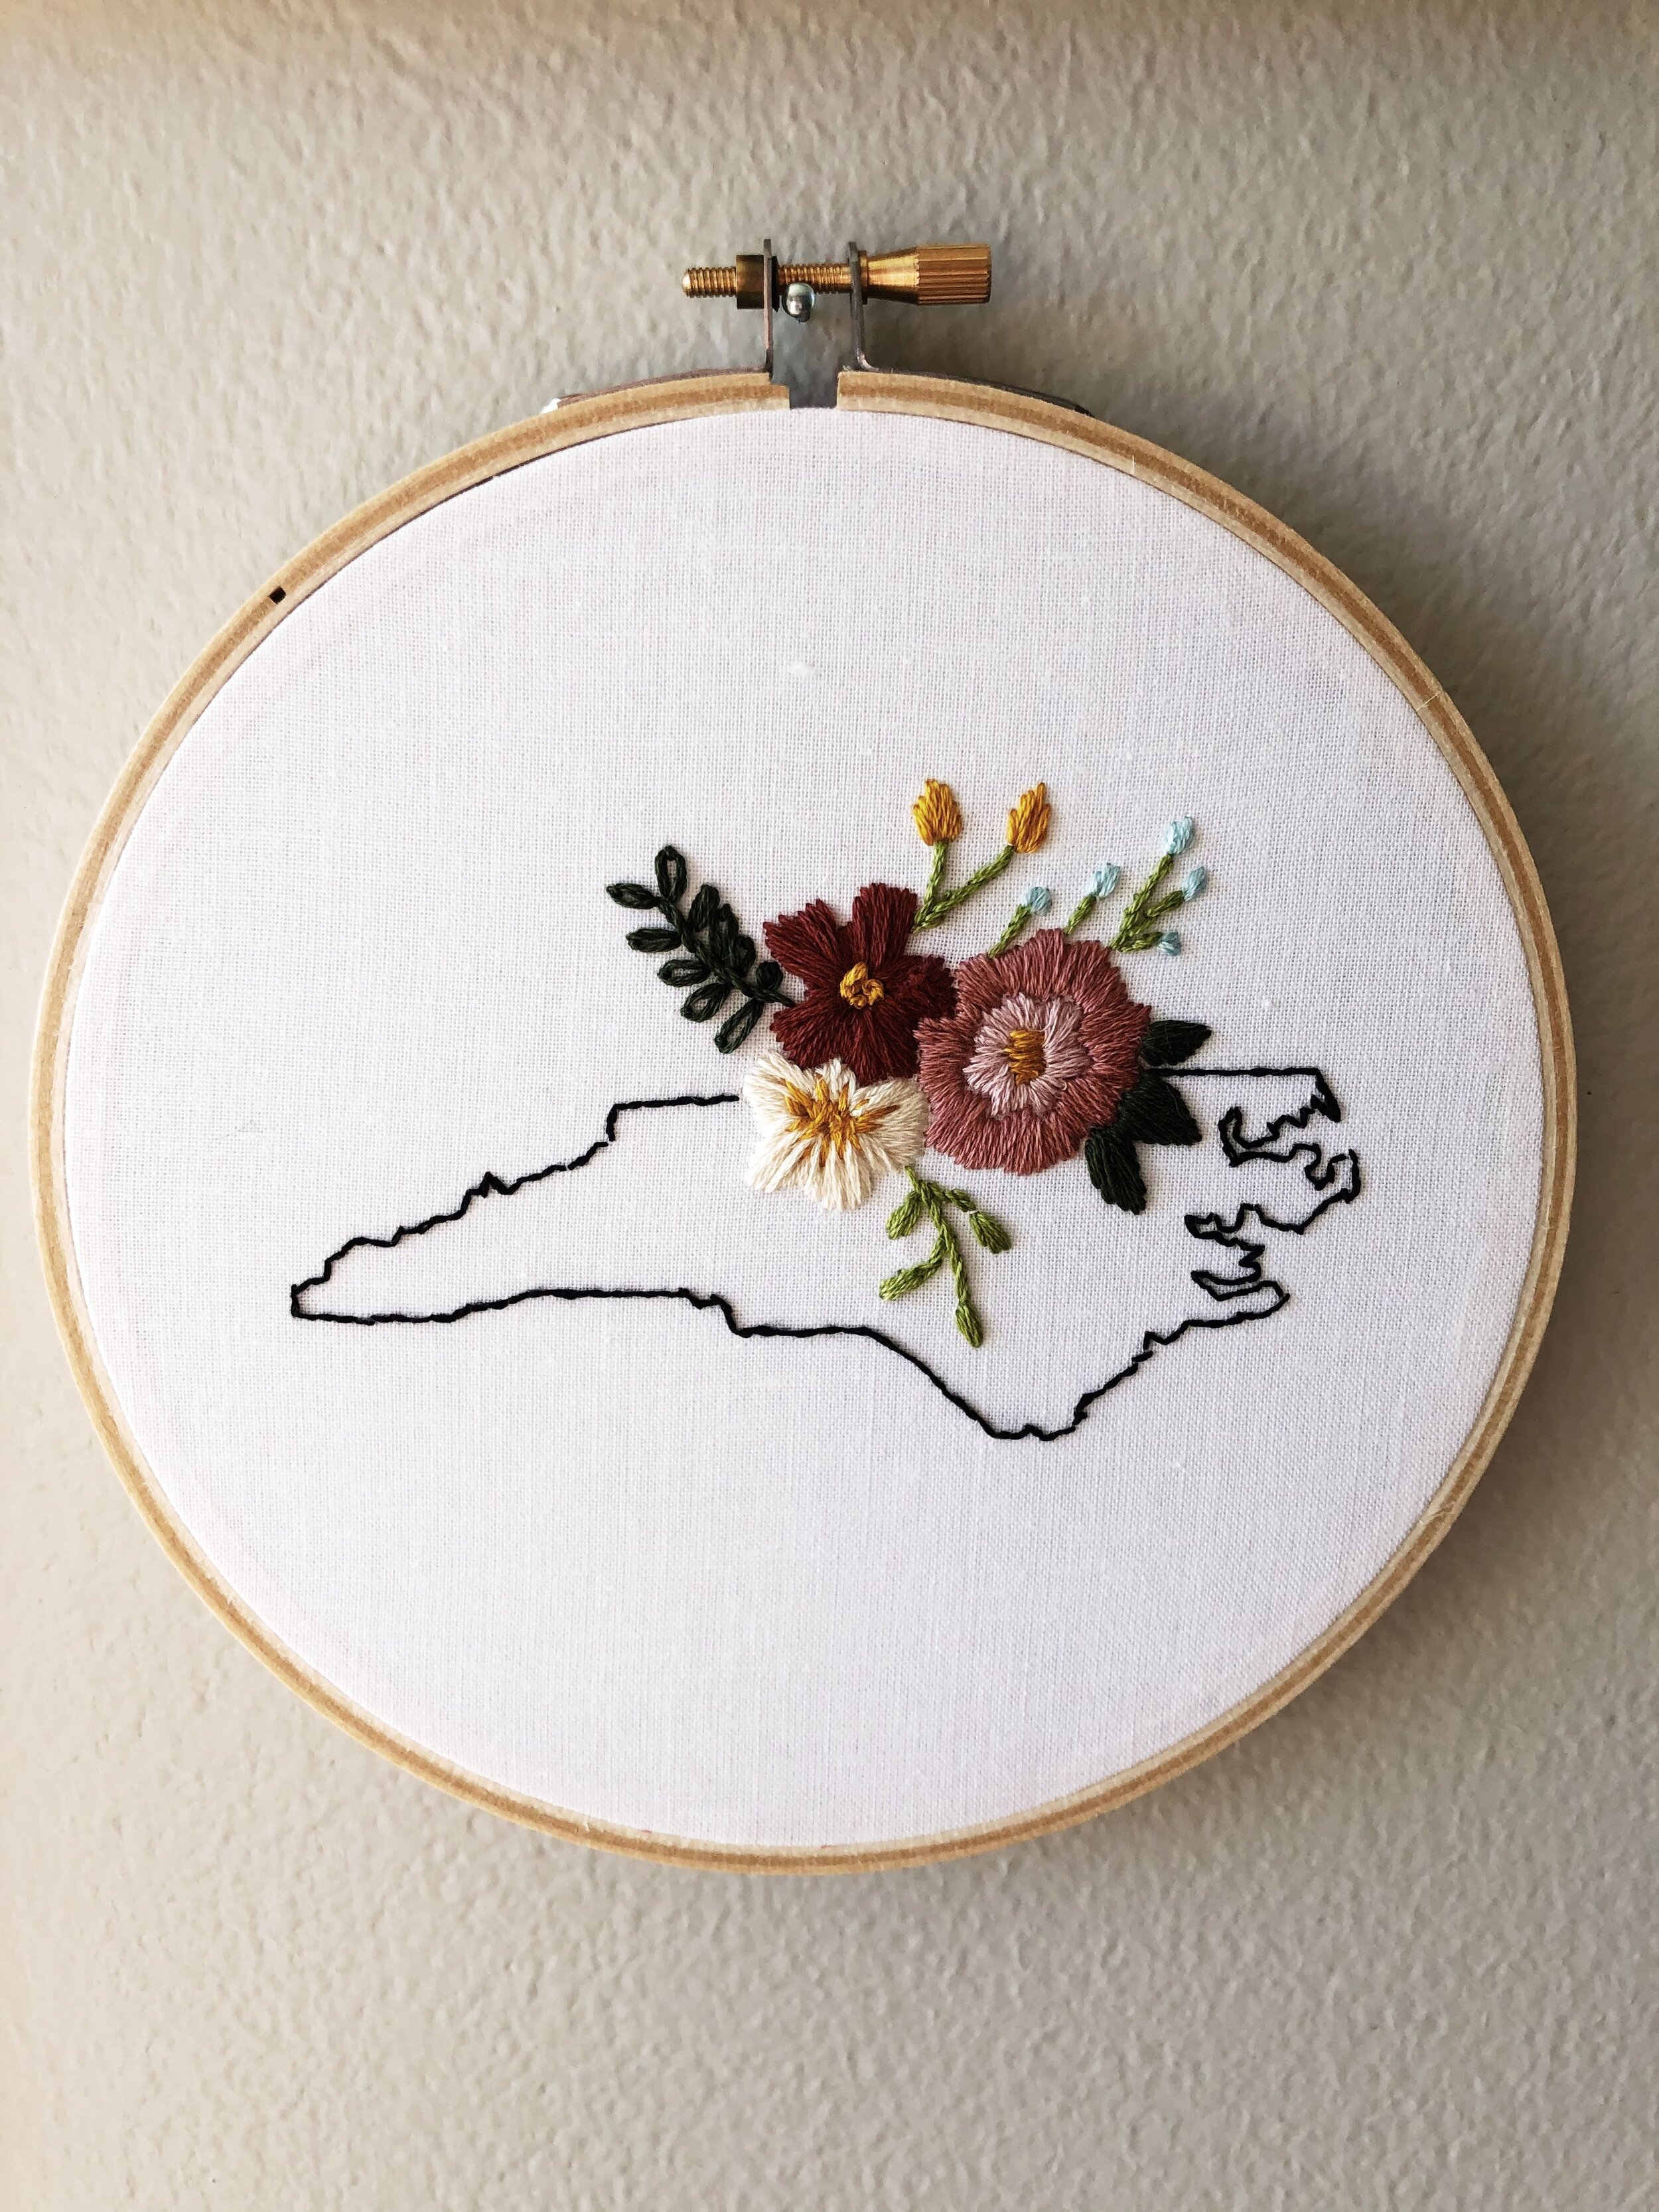
Obviously there are many tips and tricks to getting started in hand embroidery, so I have linked below to some of my favorite Etsy kits and Youtube videos for some of the steps above. Also included are two other examples of some of my free hand hoops for a work event last month. In conclusion, you can do it! Hoop it up, ya’ll!
Etsy Kits:
Youtube Tutorials: